1. What Sub-Slab Depressurization Actually Is
Sub-slab depressurization (SSD), also called active soil depressurization (ASD), is a method that creates negative air pressure beneath your home's foundation slab. A specialized fan continuously pulls air from below the slab and exhausts it above the roof. This reverses the natural pressure gradient that normally draws radon into your home.
Under normal conditions, your home acts like a vacuum at the foundation level. The stack effect and HVAC operation create slightly negative pressure indoors, which sucks soil gas (including radon) through cracks and openings in the slab. SSD flips this dynamic. By maintaining even lower pressure beneath the slab than inside the home, soil gas gets pulled downward and outward through the pipe system instead of upward into your living space.
The concept has been in use since the 1980s, is endorsed by the EPA, and has been installed in millions of homes. It is the standard first-line approach for radon mitigation in slab and basement homes throughout the United States.
2. How the System Works
The physics are straightforward. Here is the step-by-step process:
Suction Point Creates Collection Area
A hole is cored through the slab (typically 4-5 inches in diameter). The soil or gravel beneath is excavated to create a small cavity that acts as a collection point for soil gas. This is where the suction begins.
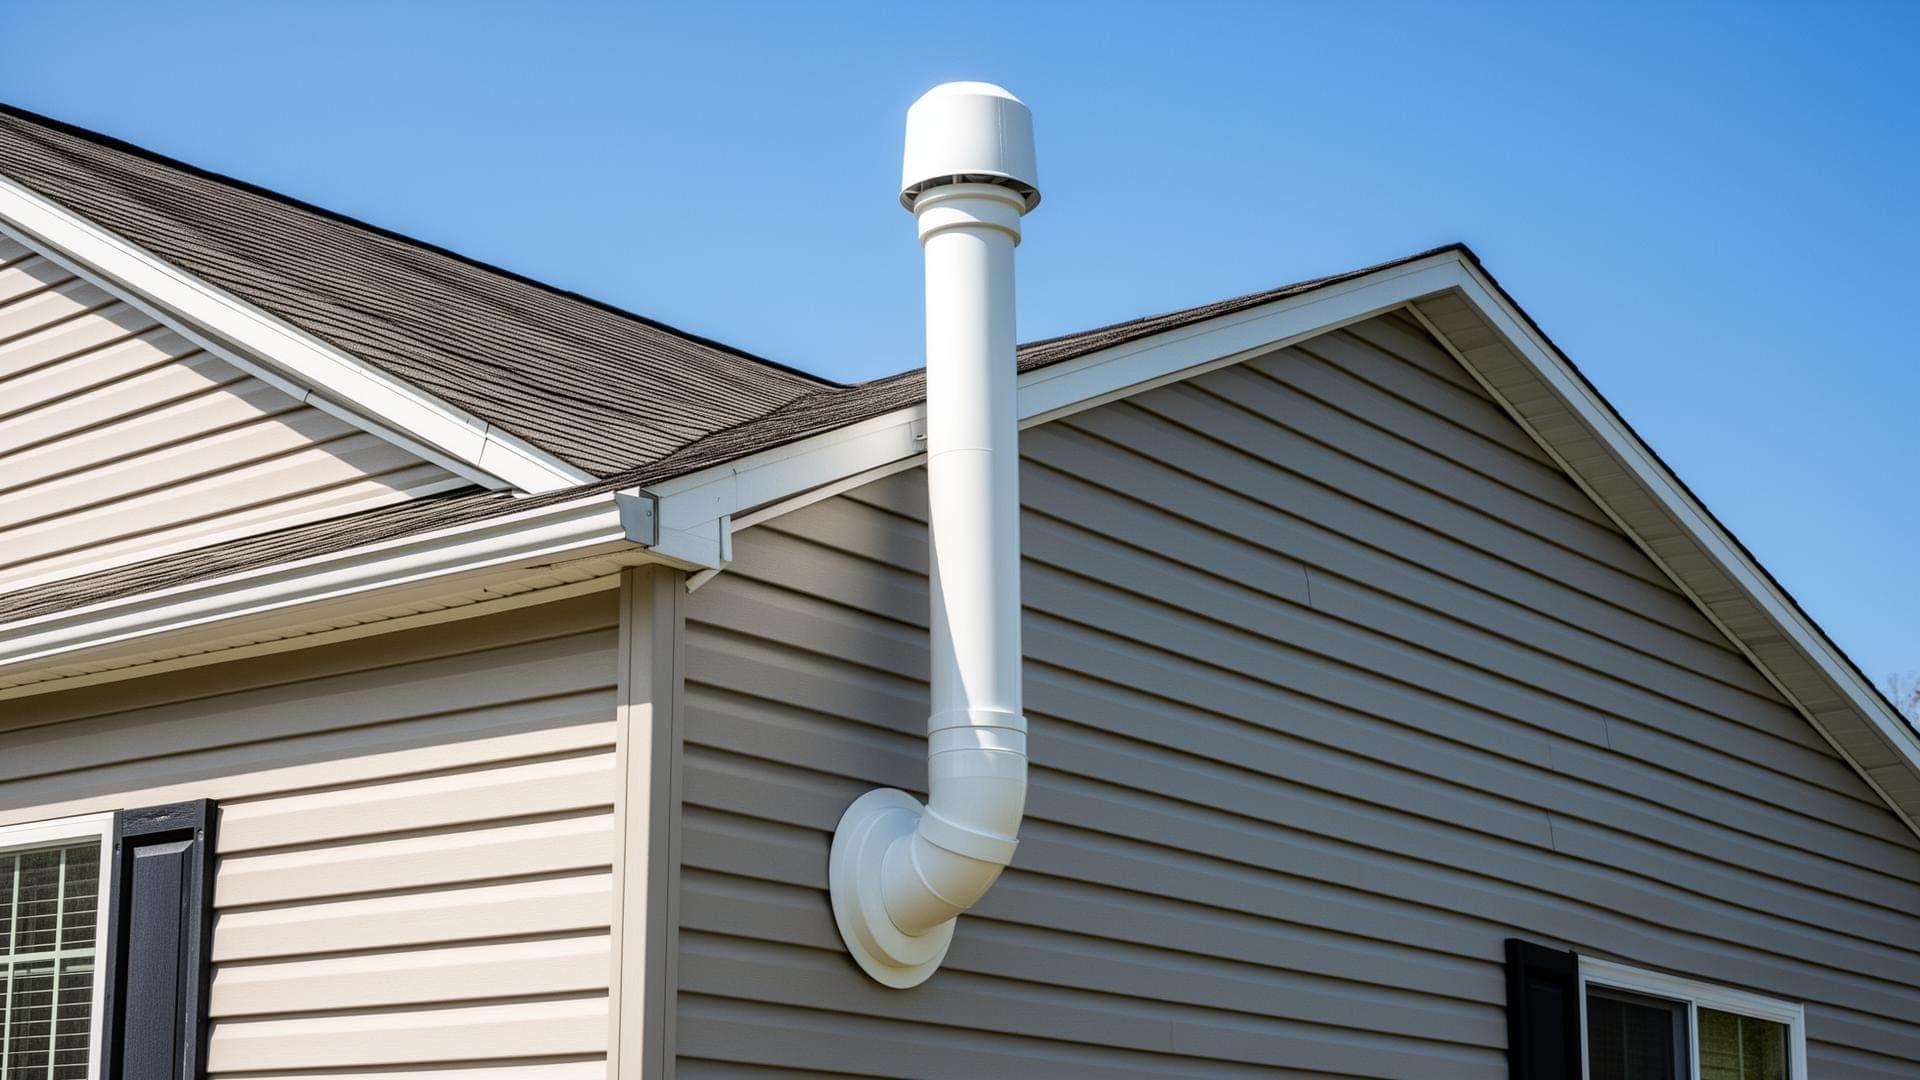
Pipe Connects to Fan
A PVC pipe (3 or 4 inch diameter) is sealed into the suction point hole and routed up through the home to the attic or along the exterior wall to above the roofline. An inline radon fan is installed in the pipe run, always above the living space.
Fan Creates Negative Pressure Field
The fan runs continuously, pulling air from beneath the slab. This creates a zone of negative pressure (depressurization) that extends outward from the suction point. In a typical slab home, one suction point can create adequate depressurization across the entire foundation.
Soil Gas Exhausted Above Roof
Radon-laden soil gas is pulled through the pipe system and discharged above the roofline, where it disperses harmlessly in the atmosphere. The discharge point is positioned away from windows, doors, and air intakes.
The Pressure Reversal
The key insight is that radon follows pressure. Under normal conditions, lower pressure inside the home pulls radon in. SSD creates even lower pressure beneath the slab, so radon follows the new path of least resistance: down into the suction point and out through the pipe, bypassing your living space entirely.
3. System Components
| Component | Specification | Purpose |
|---|---|---|
| Suction point | 4-5" core hole, excavated pit below | Soil gas collection area |
| PVC pipe | 3" or 4" Schedule 40 PVC | Routes gas from slab to roofline |
| Radon fan | Inline fan rated for radon (20-160 CFM) | Creates continuous negative pressure |
| Sealant | Polyurethane caulk at suction point and cracks | Ensures suction goes beneath slab |
| Manometer | U-tube pressure gauge on pipe | Visual indicator that fan is working |
| Discharge point | Above roofline, away from openings | Safe dispersal of exhausted gas |
The fan is the heart of the system. Radon-rated fans are specifically designed for continuous operation (24/7/365) and to handle the conditions of radon mitigation. They are not the same as bathroom exhaust fans or dryer vent boosters. A quality radon fan lasts 5 to 12 years before needing replacement.
4. What Installation Looks Like
A typical residential SSD installation takes 4 to 6 hours. Here is what happens during the installation day:
Post-mitigation radon testing begins 24 to 48 hours after the system is running. Most homeowners see their radon levels drop from above 4 pCi/L to below 2 pCi/L. For the full breakdown, see our guide on how radon mitigation systems work.
5. How Effective Is It?
Sub-slab depressurization is remarkably effective. The EPA reports that properly installed SSD systems reduce indoor radon levels by 95 to 99% in most homes. Here is what that looks like in practice:
Pre-Mitigation
8.0 pCi/L
Typical elevated reading
97% Reduction
0.2 pCi/L
Post-mitigation result
EPA Action Level
4.0 pCi/L
Most systems achieve well below
The success rate is above 99% when properly installed. In the rare cases where a single suction point does not achieve adequate reduction, adding a second suction point or a more powerful fan resolves the issue. Complete system failure is extremely uncommon. For detailed data, read our article on radon mitigation effectiveness.
Proven Technology
SSD is not experimental. It has been used since the 1980s, studied extensively by the EPA, and installed in millions of homes. The technology is mature, the installation process is standardized, and the results are predictable. It is one of the most effective environmental health interventions available. To compare SSD with other approaches, visit our radon mitigation methods overview. For a walkthrough of what happens on installation day, read what to expect during installation.
6. Variations for Different Foundations
SSD is the standard for slab and basement foundations, but the approach adapts to different foundation types:
Slab-on-Grade
The simplest installation. One suction point through the slab, pipe routed to the exterior or through a closet to the attic. Most slab homes need just one suction point because the slab is continuous.
Basement (Full or Partial)
Similar to slab-on-grade but the suction point goes through the basement floor slab. Basements may need additional sealing around floor-to-wall joints, sump pits, and utility penetrations. The pipe can often run through an interior closet or utility room.
Crawl Space
Crawl spaces do not have a slab, so the approach changes to sub-membrane depressurization. A vapor barrier is sealed over the soil and suction is applied beneath the membrane. Same principle, different execution.
Mixed Foundations
Many Georgia homes have a combination: basement under part of the house, crawl space under another part. These homes may need multiple suction points and/or a combination of sub-slab and sub-membrane techniques. The system design becomes more complex, but the results are just as effective.
7. Costs and Maintenance
Installation Cost
In Metro Atlanta, a standard SSD system costs $1,200 to $2,500 for slab and basement homes. Factors that affect cost include home size, number of suction points, pipe routing complexity, and accessibility. Use our cost estimator tool for a personalized estimate, or read our detailed cost breakdown.
Operating Cost
The fan runs 24/7 and uses about as much electricity as a 75-watt light bulb. Annual electricity cost is typically $50 to $100. This is the only ongoing operational expense.
Maintenance
The PVC pipe and sealant are essentially permanent. The fan is the only component that needs periodic replacement. Overall, SSD systems are low-maintenance and inexpensive to operate.