1. What Is Radon-Resistant New Construction?
Radon-resistant new construction (RRNC) refers to a set of building techniques incorporated during construction that prevent radon from entering the home. These techniques are defined in the International Residential Code (IRC) Appendix F and have been refined over decades of testing and implementation.
The concept is simple: it is far easier and cheaper to install radon prevention during construction than to retrofit a system after the home is built. During construction, you have open access to the foundation, sub-slab area, and wall cavities. After construction, accessing those areas requires drilling, cutting, and routing pipe through finished spaces.
RRNC does not guarantee a radon-free home. It creates the infrastructure for radon management. A passive RRNC system reduces radon by roughly 50%. If testing shows that is not enough, adding a fan to the existing pipe stack converts the passive system to an active one, achieving 90-99% reduction. That conversion takes about an hour and costs $300-600 because all the hard work (the pipe, gravel, membrane, sealing) was done during construction.
2. The Five RRNC Components
A complete RRNC installation includes five elements that work together:
Gas-Permeable Layer (Gravel)
A 4-inch layer of clean, coarse gravel beneath the slab. This allows soil gas to move freely beneath the foundation and be collected at the suction point. Without this layer, suction cannot extend across the full sub-slab area.
Polyethylene Sheeting
A 6-mil (minimum) polyethylene sheet placed over the gravel before the slab is poured. This acts as a soil gas retarder, reducing the amount of radon that can pass through the slab by diffusion. It also serves as a moisture barrier.
Sealing and Caulking
All openings, cracks, and joints in the foundation are sealed. This includes the slab-to-wall joint, utility penetrations (plumbing, electrical, HVAC), sump pits, and any visible cracks. Proper sealing limits the pathways radon can use to enter the home.
Vent Pipe
A 3-inch or 4-inch PVC pipe runs from the sub-slab gravel layer, through the home (typically through a wall cavity or interior chase), and out through the roof. This pipe provides a pathway for soil gas to escape before entering the living space. In the passive configuration, natural convection moves air through this pipe.
Electrical Junction Box (Fan-Ready)
An electrical outlet or junction box is installed in the attic near the vent pipe. If the passive system proves insufficient, a radon fan can be added at this location without running new electrical. This "fan-ready" provision is what makes activation fast and inexpensive.
3. Georgia Building Code Requirements
Georgia's approach to RRNC is not uniform across the state. Here is the current landscape:
Builder Responsibility
Even where RRNC is not code-required, quality builders in Metro Atlanta increasingly include radon-resistant features as standard practice. The marginal cost is low, the liability reduction is significant, and buyer awareness of radon continues to grow. If your builder does not include RRNC features, ask why and consider requesting them as an addition.
Check your area's radon risk with our zip code radon risk lookup to understand the local radon potential before making construction decisions.
4. Passive vs Active Systems
RRNC creates a passive system by default. Understanding the difference between passive and active is important for making decisions about your new home.
Passive System
~50% Reduction
Relies on natural convection (warm air rising in the pipe) to draw soil gas upward and out the roof. No fan, no electricity cost. Works quietly but with limited effectiveness. Sufficient in some low-radon areas.
Active System
90-99% Reduction
Adds a radon fan to the existing pipe stack. Creates mechanical suction beneath the slab. Costs $50-100/year in electricity. Required when passive alone does not reduce levels below 4 pCi/L.
The activation process (converting passive to active) is simple when RRNC was done properly: install a fan in the attic pipe run and plug it in. The entire job takes about an hour. Without RRNC, creating an active system from scratch requires drilling through the slab, running new pipe, and routing exhaust to the roof, costing 3-5x more.
5. Cost: During Construction vs Retrofit
The cost difference between RRNC during construction and retrofitting later is substantial:
| Component | During Construction | Retrofit |
|---|---|---|
| Gravel layer | $100-200 (marginal cost) | N/A (cannot add under existing slab) |
| Poly sheeting | $50-100 | N/A (under slab) |
| Sealing | $100-200 | $200-400 |
| Vent pipe (internal routing) | $150-400 | $400-800 (exterior routing) |
| Electrical for fan | $50-100 | $150-300 |
| Core drill through slab | N/A (done before pour) | $200-400 |
| Total | $500-$1,500 | $1,200-$3,000+ |
The math is clear: RRNC during construction saves money regardless of whether the home ends up needing an active system. Use our radon system cost calculator to estimate retrofit costs if your home was not built with RRNC features. Our new construction radon solutions team works with builders and homeowners alike. Learn more about active sub-slab suction for homes without RRNC features, and see our guide on short-term vs. long-term radon testing.
6. Why You Still Need to Test
RRNC features are not a substitute for testing. Here is why:
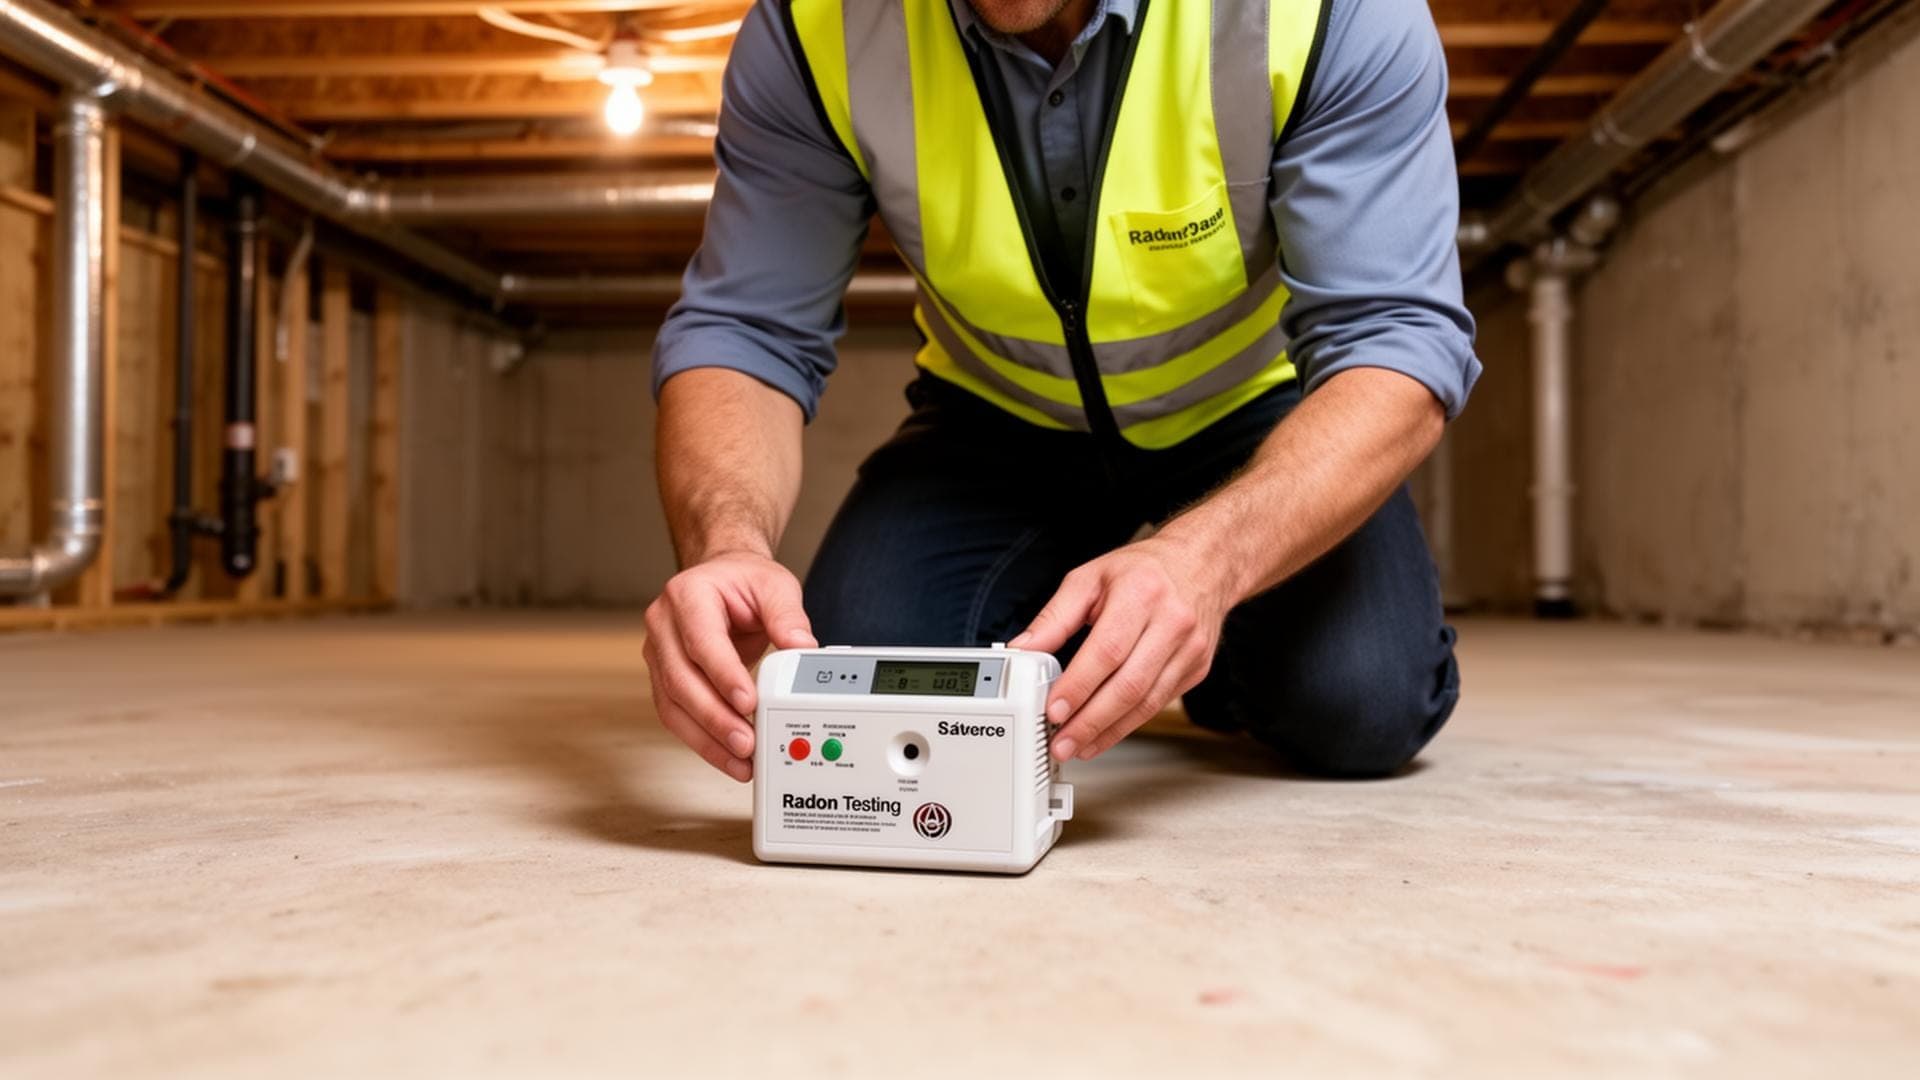
The EPA recommends testing every new home within the first year of occupancy, regardless of whether RRNC features were installed. Test during the heating season for the most informative result.
The RRNC Advantage
Even if your new home tests above 4 pCi/L with a passive RRNC system, the fix is a $300-600 fan activation instead of a $1,500-3,000 retrofit. The RRNC investment pays for itself the moment that fan is needed.
7. What to Ask Your Builder
If you are building a new home in Georgia, here are the questions to ask your builder about radon: