1. Why Buyers Should Always Test for Radon
Georgia does not require radon testing during home sales. There is no disclosure mandate. That means the only way to know if a home has elevated radon is to test it yourself during the inspection period.
The statistics support testing: approximately 1 in 5 Georgia homes tested have radon above the EPA action level of 4 pCi/L. In Zone 1 counties like Fulton, Gwinnett, Cobb, and Cherokee, the rate is even higher. You can check any property's zip code with our radon risk lookup tool before you even schedule a test.
Radon is the second leading cause of lung cancer in the United States. It is odorless, colorless, and invisible. The only way to detect it is to test. And the inspection period is your best opportunity to test a property before committing to the purchase.
Do Not Rely on the Seller's Word
Even if a seller says "we have never had a radon problem," that only means they have never tested. No test means no data, not proof of safety. The only way to know is to have a professional radon test conducted during your inspection period. For a complete overview of radon in Georgia transactions, see our radon and real estate guide.
2. When to Schedule Your Radon Test
Schedule your radon test at the same time as your general home inspection. Do not wait for general inspection results before ordering the radon test. A radon test requires at least 48 hours of data collection, plus scheduling time. In a typical 10-14 day inspection period, every day counts.
Ideal Timeline
For a detailed breakdown of testing timelines, see our guide on how long radon testing takes.
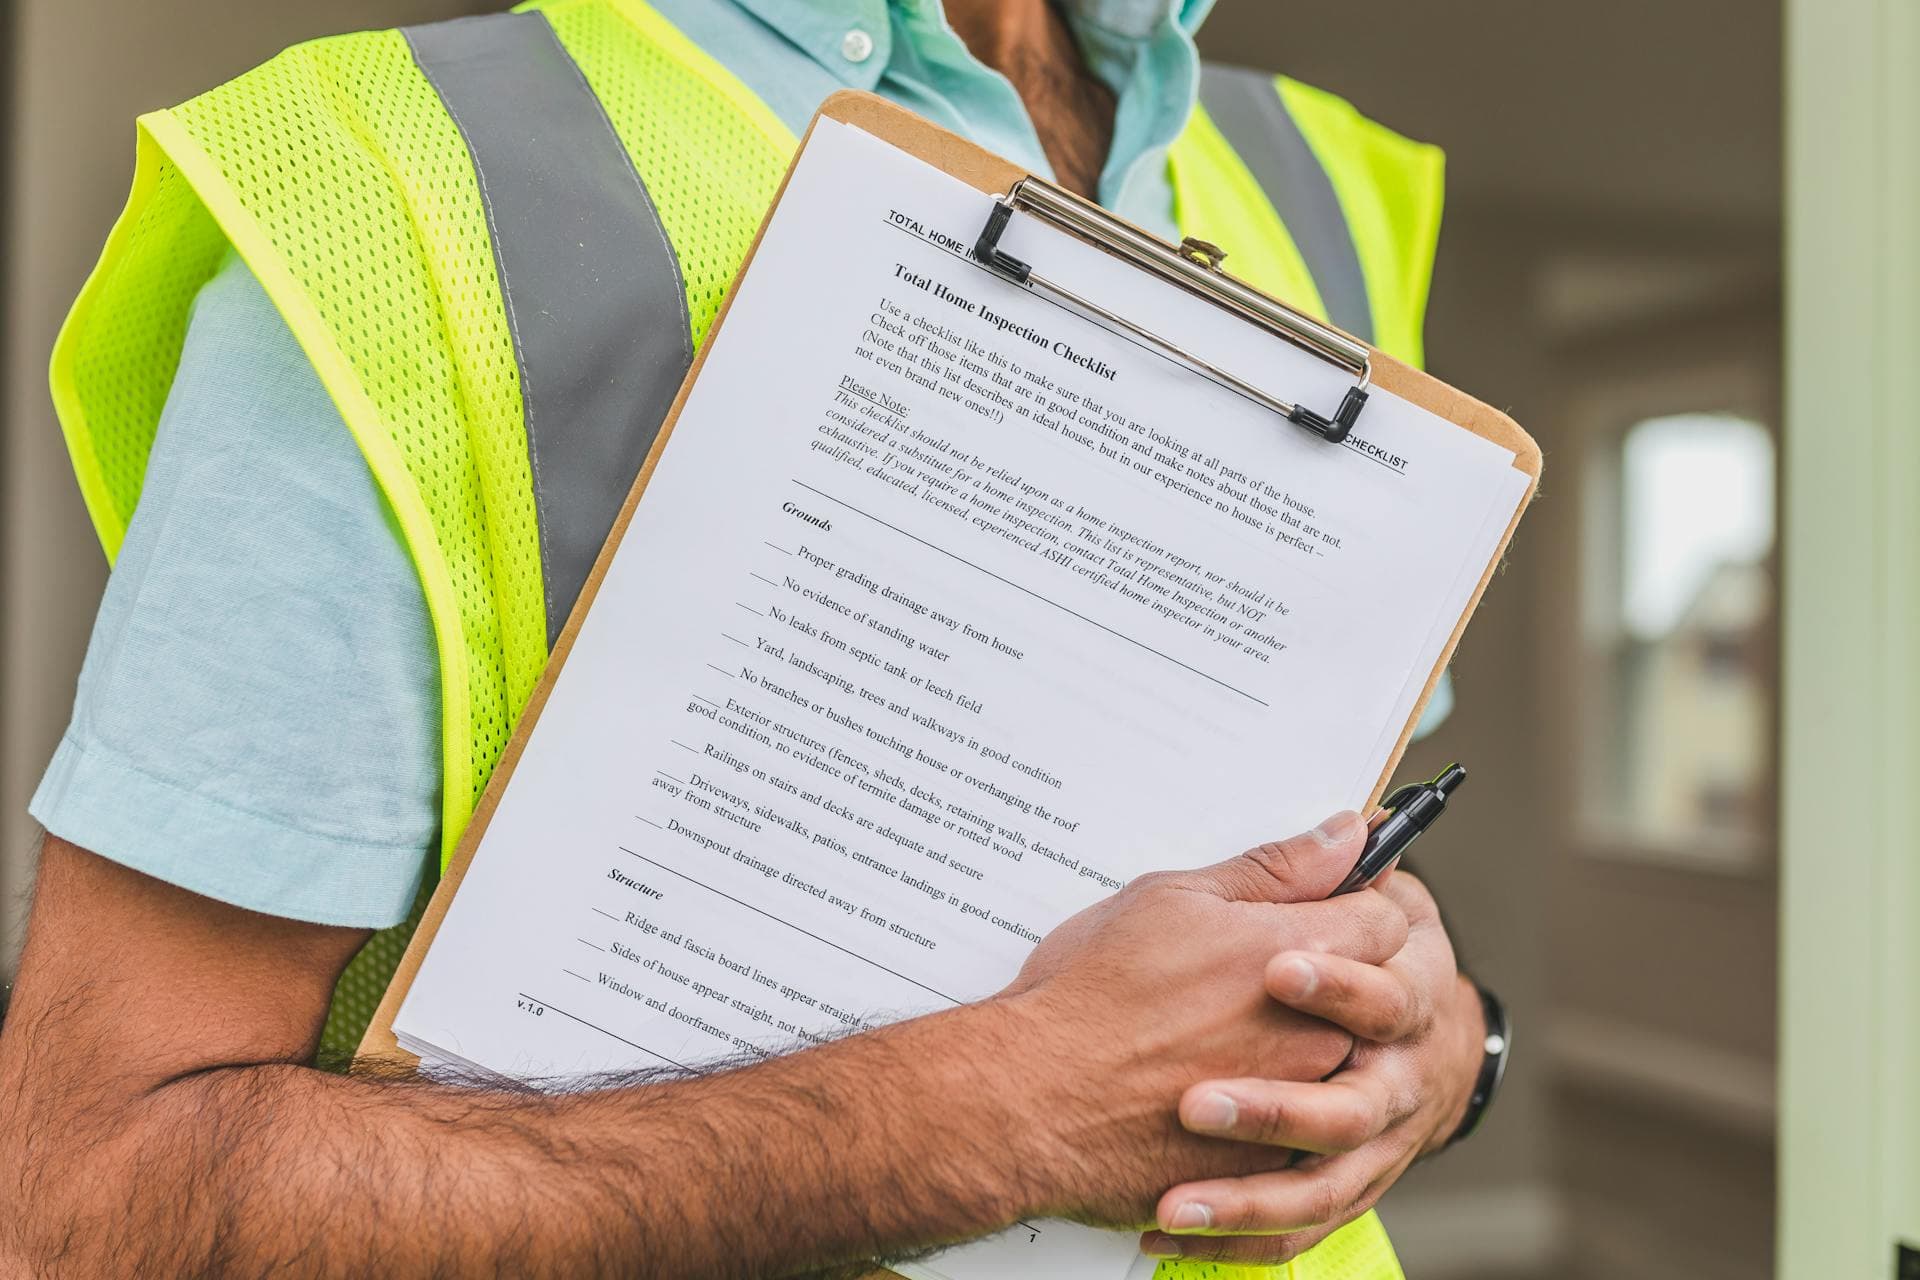
3. What to Expect During the Test
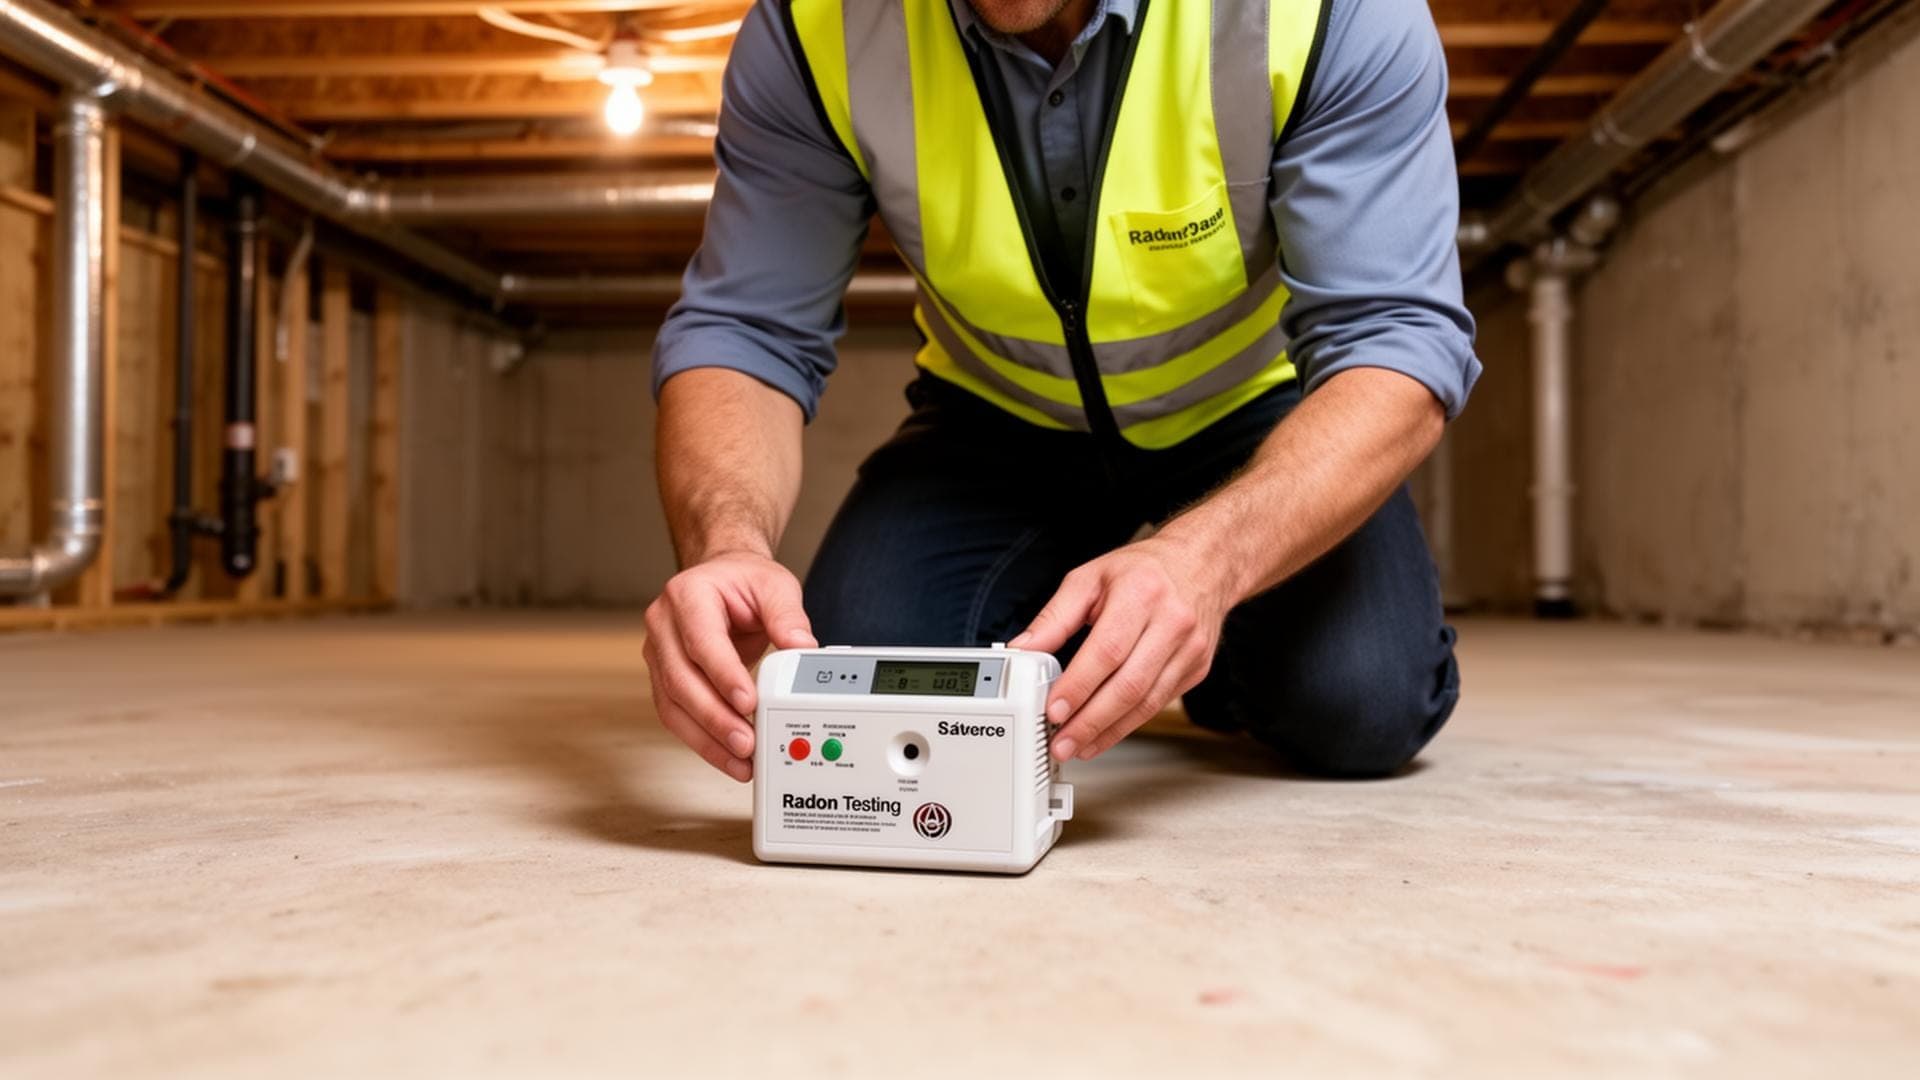
Professional radon testing for real estate uses a continuous radon monitor (CRM). Here is the process:
Pre-Test Preparation
The property should maintain closed-house conditions for 12 hours before the test starts. Windows and exterior doors should remain closed except for normal entry and exit. The listing agent or seller is usually notified of this requirement.
Monitor Placement
The technician places the CRM in the lowest livable area, at least 20 inches off the floor, away from exterior walls and drafts. The device records hourly radon levels automatically. The technician documents placement conditions.
48+ Hours of Data Collection
The CRM records a radon reading every hour. It also logs temperature, humidity, barometric pressure, and any motion or tampering. No one needs to be at the property during this time.
Results Report
The technician retrieves the monitor and generates a detailed report showing hourly readings, average level, peak levels, and environmental conditions. Results are typically available the same day.
4. Interpreting Your Results
Your test report will include an average radon level in picocuries per liter (pCi/L). Here is what the numbers mean for your home purchase:
Below 2.0 pCi/L
Low Risk
No action needed. Proceed with confidence.
2.0 - 3.9 pCi/L
Moderate
Below action level. Consider seasonal retest after move-in.
4.0+ pCi/L
Action Level
EPA recommends mitigation. Negotiate with seller.
Remember that radon levels vary by season. A summer reading of 3.5 pCi/L might be 5-7 pCi/L in winter. A winter reading of 3.5 pCi/L is a better indicator that you are likely below action level year-round.
5. Negotiation Strategies When Radon Is Found
If radon tests above 4 pCi/L, you have several options. Radon should not necessarily kill a deal because it is completely fixable, but it should inform your negotiation.
Option 1: Seller Installs Mitigation Before Closing
This is the most common approach. The seller pays for a professional mitigation system and provides a post-mitigation test showing levels below 4 pCi/L. This protects you and costs the seller $1,200 to $2,500 for most slab/basement homes. Use our cost estimator to verify the expected cost.
Option 2: Seller Credit at Closing
The seller provides a credit toward the purchase price to cover mitigation costs. You handle the installation after closing. This works well when the closing timeline is tight and there is not enough time for pre-closing installation.
Option 3: Split the Cost
In a competitive market, buyer and seller may split the mitigation cost. This can help keep the deal moving when neither party wants to absorb the full expense.
Perspective
Radon mitigation is one of the least expensive repairs that can come up during a home inspection. A new roof costs $8,000-$15,000. HVAC replacement costs $5,000-$10,000. A radon mitigation system that protects your family from a known carcinogen costs $1,200-$2,500. Read more about radon and real estate in Georgia.
6. Mitigation Before Closing
If the seller agrees to install mitigation before closing, here is the typical timeline:
| Step | Timeline |
|---|---|
| Get mitigation quotes | 1-2 days |
| Schedule installation | 2-5 days |
| Installation | 4-6 hours (1 day) |
| System stabilization | 24-48 hours |
| Post-mitigation retest | 48+ hours |
| Total | 7-12 days |
This is why early radon testing is important. If you wait until the end of the inspection period to test, there may not be enough time for mitigation before closing. For the full testing timeline, see how long radon testing takes.
7. Radon Testing After You Move In
Whether or not the pre-purchase test showed elevated radon, here is what to do after closing:
See our complete retesting guide for all the scenarios. Check your neighborhood's risk level with our zip code lookup. For more radon information for homeowners, visit our resource page. Need professional radon mitigation? See our 2026 cost guide for pricing.