1. The Two Approaches
There are two fundamentally different ways to test your home for radon. Both can give you useful information, but they work differently and are suited for different situations.
DIY test kits use passive technology. You place a detector in your home, leave it for a specified period, then mail it to a lab for analysis. Cost: $15 to $40.
Professional testing uses active continuous radon monitors (CRMs) that take hourly readings, detect tampering, and provide a detailed picture of your home's radon levels. Cost: $125 to $250.
The right choice depends entirely on what you need the results for.
2. DIY Test Kits Explained
DIY kits come in two main types.
Charcoal Canister Kits
The most common type you will find at hardware stores. You open the canister, place it in the lowest living area, leave it for 2 to 7 days, seal it up, and mail it to a lab. Results come back in 1 to 2 weeks.
- • Cost: $15 to $25 (includes lab fee)
- • Exposure period: 2 to 7 days
- • Results: 1 to 2 weeks after mailing
- • Provides single average reading
Alpha Track Detectors
Used for long-term testing (90 days to 1 year). A small plastic chip records alpha particle impacts from radon decay. Better for getting a true annual average, but the wait is long.
- • Cost: $20 to $40 (includes lab fee)
- • Exposure period: 90 days to 1 year
- • Results: 1 to 2 weeks after mailing
- • Best for long-term average
There are also digital radon monitors you can buy for $150 to $250 (brands like Airthings and RadonEye). These give continuous readings on a display. They are useful for ongoing monitoring but are not calibrated to the same standard as professional equipment and are not accepted for real estate purposes.
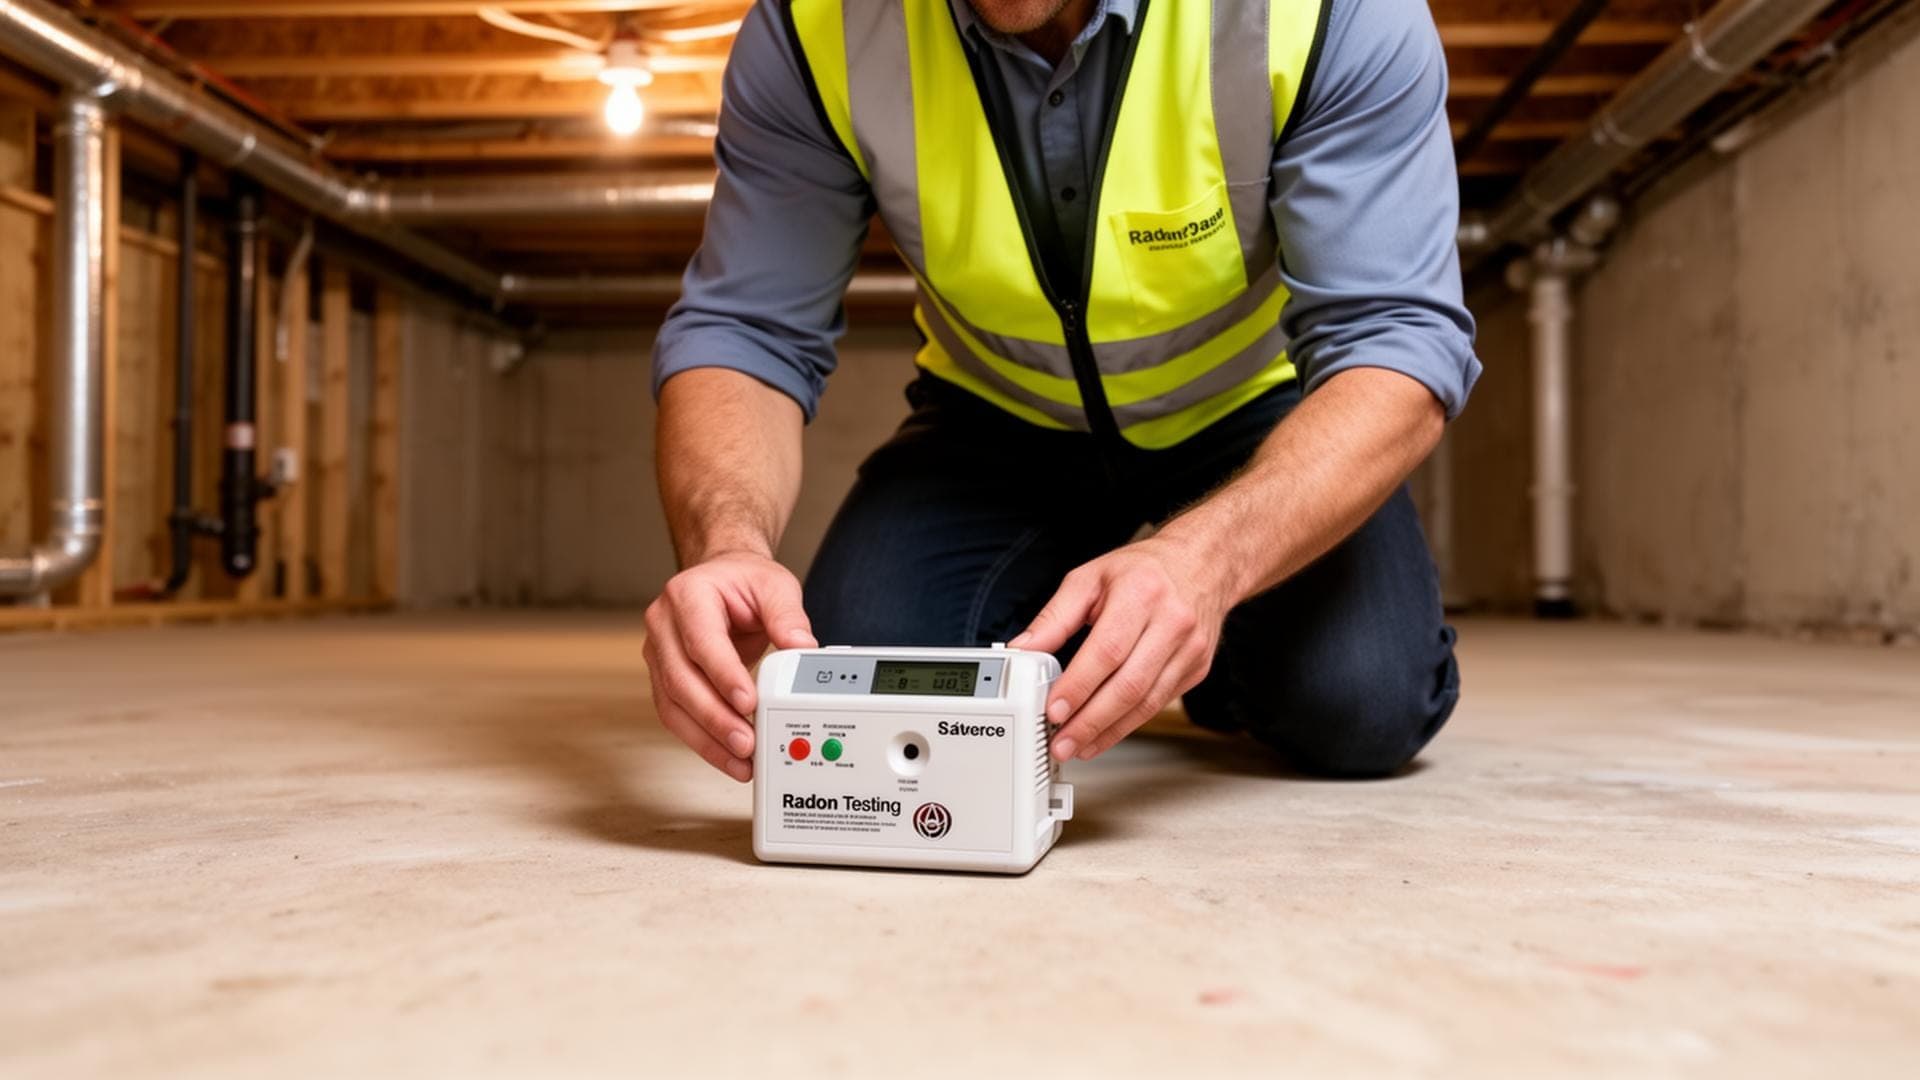
3. Professional CRM Testing
Professional radon testing uses a continuous radon monitor (CRM), a device that takes a reading every hour for the duration of the test (minimum 48 hours). This provides much more information than a single average number.
What a Professional Test Gives You
- Hourly readings: See how radon levels fluctuate throughout the day and night. Some homes spike at night when HVAC runs differently.
- Tamper detection: CRMs log if they are moved, unplugged, or if a window is opened nearby. This is critical for real estate transactions where both parties need to trust the results.
- Temperature and humidity data: Environmental conditions that might affect the reading are recorded alongside the radon data.
- Calibrated accuracy: Professional CRMs are calibrated regularly against known radon sources. This is something no consumer device matches.
- Proper placement: A trained professional places the device in the correct location, at the right height, away from drafts, humidity, and other interference.
The test takes a minimum of 48 hours. The technician places the monitor, and either returns to retrieve it or has it transmit data remotely. You get results the same day the test ends, not weeks later.
4. Side-by-Side Comparison
| Feature | DIY Charcoal Kit | Professional CRM |
|---|---|---|
| Cost | $15 to $40 | $125 to $250 |
| Results timeframe | 1 to 2 weeks (after mailing) | Same day test ends |
| Data provided | Single average number | Hourly readings + averages |
| Tamper detection | None | Yes (movement, door/window sensors) |
| Placement accuracy | Depends on homeowner | Trained professional |
| Accepted for real estate | No | Yes |
| Calibration | Lab-dependent | Regularly calibrated devices |
| User error risk | Higher | Lower |
5. When DIY Makes Sense
DIY testing is not useless. There are situations where it is a reasonable first step.
- Initial screening: If you have never tested and want a quick, low-cost indication of whether radon might be a concern, a DIY kit is a reasonable starting point.
- Long-term monitoring: Alpha track detectors left for 90+ days give a good annual average. If you have already mitigated and want to verify long-term performance between professional retests, this can be useful.
- Budget constraints: A $15 test that tells you your radon is 1.5 pCi/L is better than no test at all. If cost is a barrier to testing, a DIY kit is far better than doing nothing.
The key rule: if a DIY test shows levels above 4 pCi/L, follow up with professional testing before making any decisions about radon mitigation. For a full breakdown of available test methods, see our radon test kit types comparison.
6. When You Need Professional Testing
Real Estate Transactions
This is non-negotiable. If you are buying or selling a home, professional CRM testing is required. DIY kits are not accepted by lenders, attorneys, home inspectors, or during negotiations. The tamper detection and chain of custody that professional testing provides are essential when money is on the line.
After a DIY Test Shows Elevated Levels
If your DIY kit comes back at 4 pCi/L or higher, you need professional confirmation before spending $1,500+ on mitigation. A CRM test will give you much more detailed and reliable data to base that decision on.
Post-Mitigation Verification
After a radon mitigation system is installed, you need accurate results to confirm the system is working. Professional testing provides the certainty you need.
Peace of Mind
If you are making a health decision for your family based on radon results, the difference between $15 and $150 is trivial. Professional testing eliminates the variables that make DIY results uncertain. Radon is a proven health risk for children and adults alike, so accurate data matters.
7. Common DIY Testing Mistakes
If you go the DIY route, avoid these common errors that can make your results inaccurate.
Wrong Location
The test should go in the lowest livable level of your home, not in a closet, not in the garage, and not in an unused attic. Place it 2 to 4 feet off the floor, away from exterior walls, windows, and doors.
Near Drafts or Humidity
Placing the kit near a window, door, vent, or in a bathroom or kitchen can skew results. Charcoal canisters are particularly sensitive to humidity, which can affect the absorption rate.
Not Maintaining Closed-House Conditions
The EPA requires closed-house conditions during testing: windows and doors closed except for normal entry/exit, no fans that bring in outdoor air. Opening windows during the test dilutes radon and produces falsely low results.
Timing Errors
Leaving the canister exposed too long, not long enough, or waiting too long to mail it to the lab can all affect accuracy. Follow the kit instructions exactly, and mail the canister the same day you seal it.