The short answer
Finishing a basement is the single best time to deal with radon, because the expensive parts of a radon system are exactly the parts that finished walls and floors hide. Test before you start. If the level is elevated, install a full sub-slab system while the slab is exposed. If it is low, at least rough in a passive system so the pipe and suction pit are already in place. Seal cracks and penetrations as part of the build, then retest after to confirm the finished space reads below the EPA action level of 4.0 pCi/L. Doing this during the project costs a fraction of cutting into finished space later.
Table of contents
- 1. Why finishing the basement raises the stakes
- 2. The cheapest, best moment to act
- 3. Step one: test before you start
- 4. Step two: rough in a passive sub-slab system
- 5. Passive rough-in versus full active mitigation
- 6. Step three: seal cracks and penetrations
- 7. Step four: retest after the work is done
- 8. Why doing it now beats retrofitting later
- 9. Radon risk in metro Atlanta basements
- 10. Frequently asked questions
1. Why finishing the basement raises the stakes
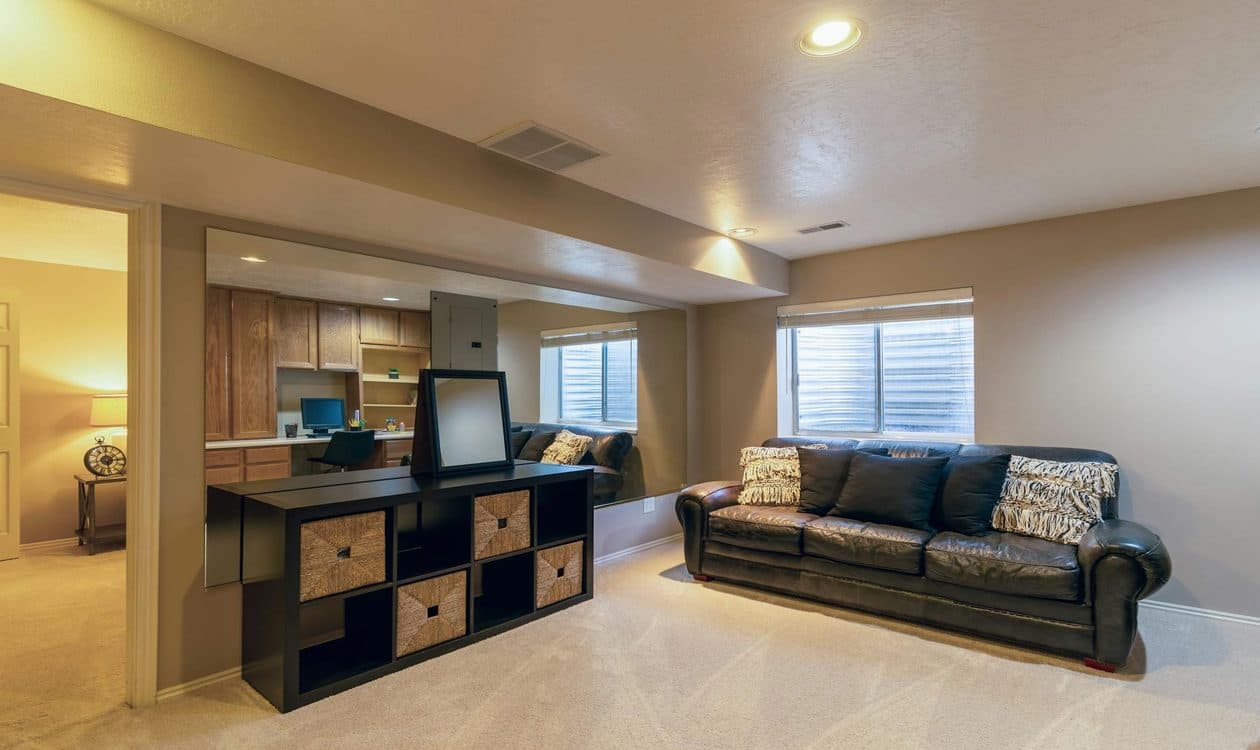
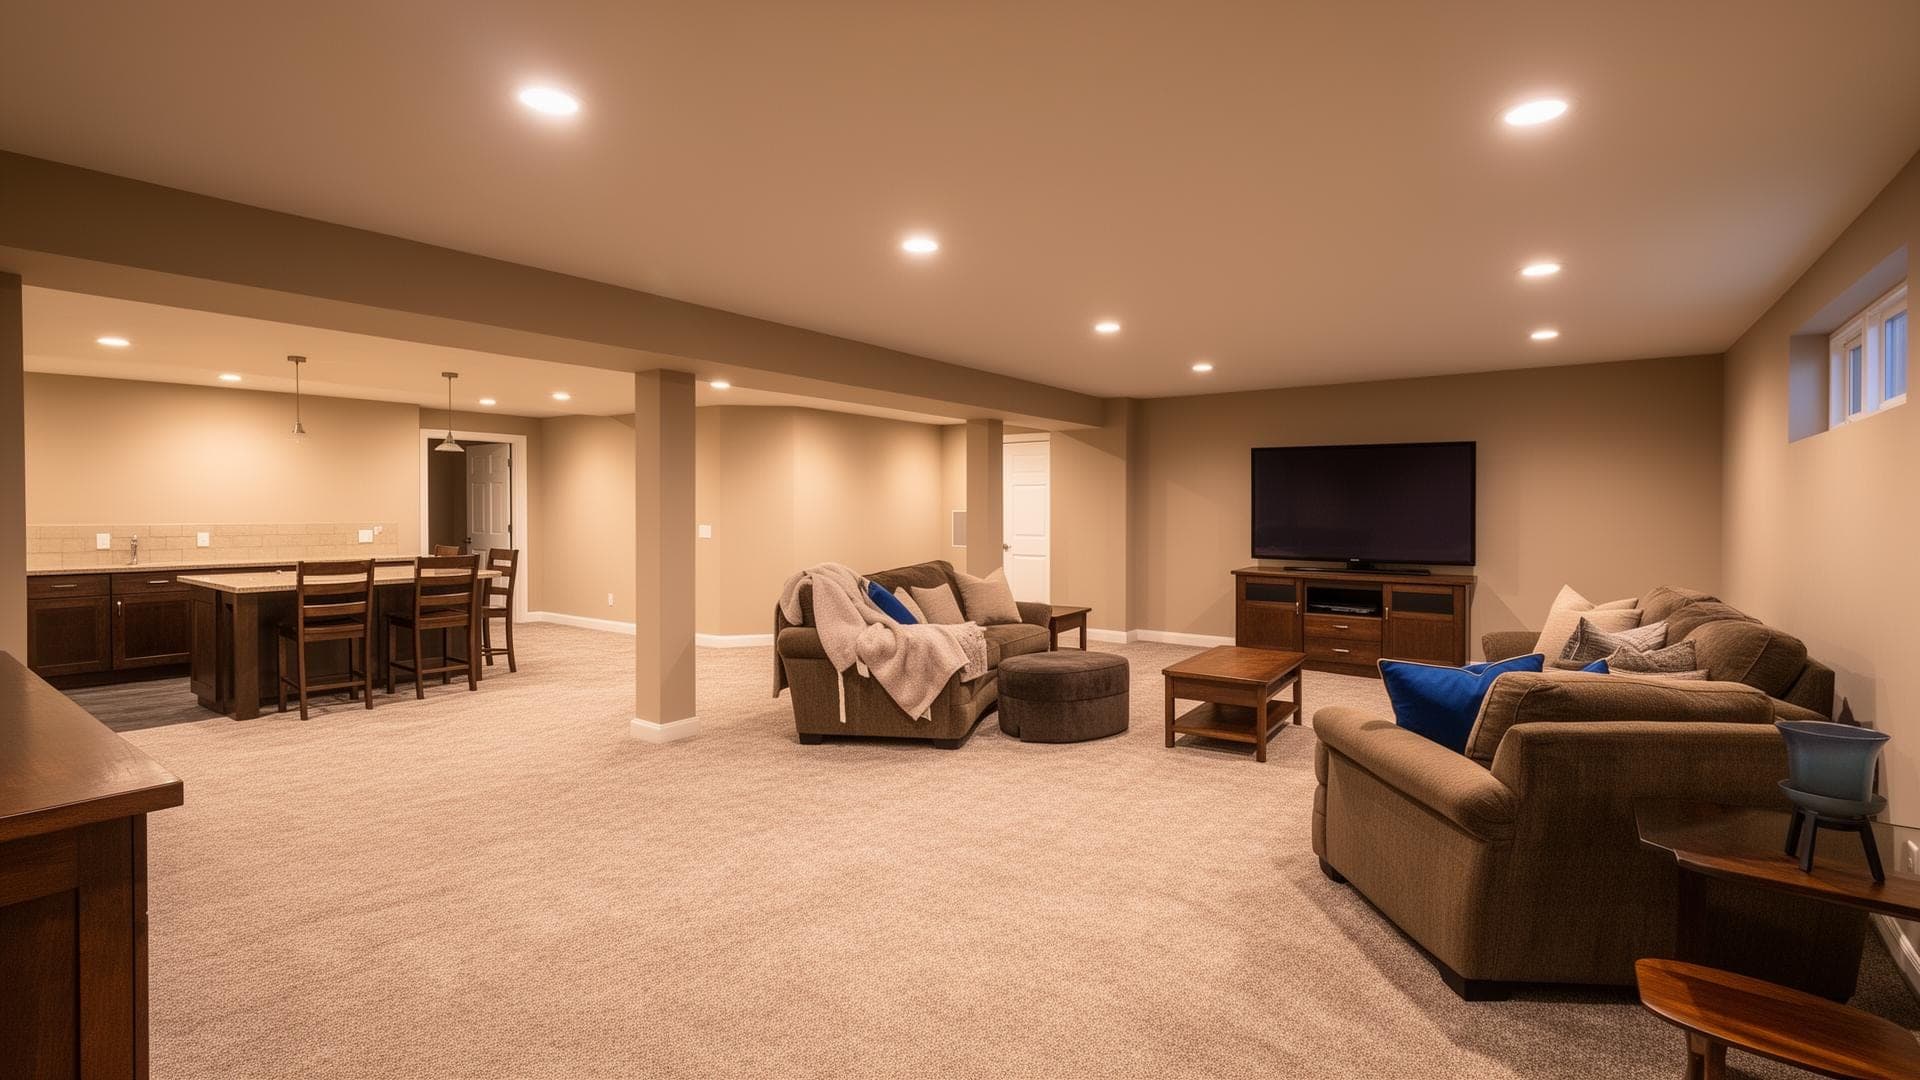
An unfinished basement is usually a place you pass through. You do laundry, grab a tool, and leave. Finishing it changes everything. A bedroom, a home office, a playroom, or a media room turns the lowest level of the house into a place where people sleep, work, and relax for hours at a time. That shift matters for radon, because radon is a soil gas that is almost always highest at the lowest, most soil-contact level of a home.
Radon exposure is cumulative. The risk comes from breathing it over years, so the rooms where you spend the most time drive most of your exposure. When you convert a rarely used basement into daily living space, you are increasing the hours people spend in the part of the home where radon concentrates. A space that was a minor concern when nobody lingered there becomes the room that matters most.
2. The cheapest, best moment to act
Here is the part that saves money: the most disruptive elements of a radon system are the parts a finished basement covers up. A sub-slab system needs access to the concrete floor to cut a suction pit, and it needs a vent pipe routed from that pit up through the building to above the roofline. In a gutted basement, the slab is bare and the framing is open, so both jobs are quick. After the basement is finished, that same work means cutting into new flooring, drilling through finished walls, and fishing pipe through closed ceilings.
The most common regret we hear is from owners who finished a beautiful basement, then tested high and had to run a vent pipe up through brand-new finishes. Planning the radon work into the remodel, before the slab is covered and the walls go up, avoids that entirely.
There is also a planning benefit. When radon is part of the design from the start, the vent pipe can be routed through an interior chase or a closet so it stays hidden in the finished space. Retrofitted systems often have to run up an exterior wall because that is the only path left, which is less tidy. Building it in lets you place everything cleanly.
3. Step one: test before you start
Everything downstream depends on knowing your number, so the first move is a radon test in the existing basement before demolition or framing begins. The result tells you which path to take. If you are at or above the EPA action level of 4.0 pCi/L, you know you need a full active system, and you can plan it into the project. If you are low, you can decide whether a low-cost passive rough-in is worth doing while it is easy, knowing you will retest later anyway.
Test the existing conditions of the space you are about to change. A short-term test gives you a quick read to plan around, and many owners follow it with a longer measurement for a more representative number. The point is to have data in hand before you commit to a layout, so radon is a design input rather than a surprise after the drywall is up.
4. Step two: rough in a passive sub-slab system
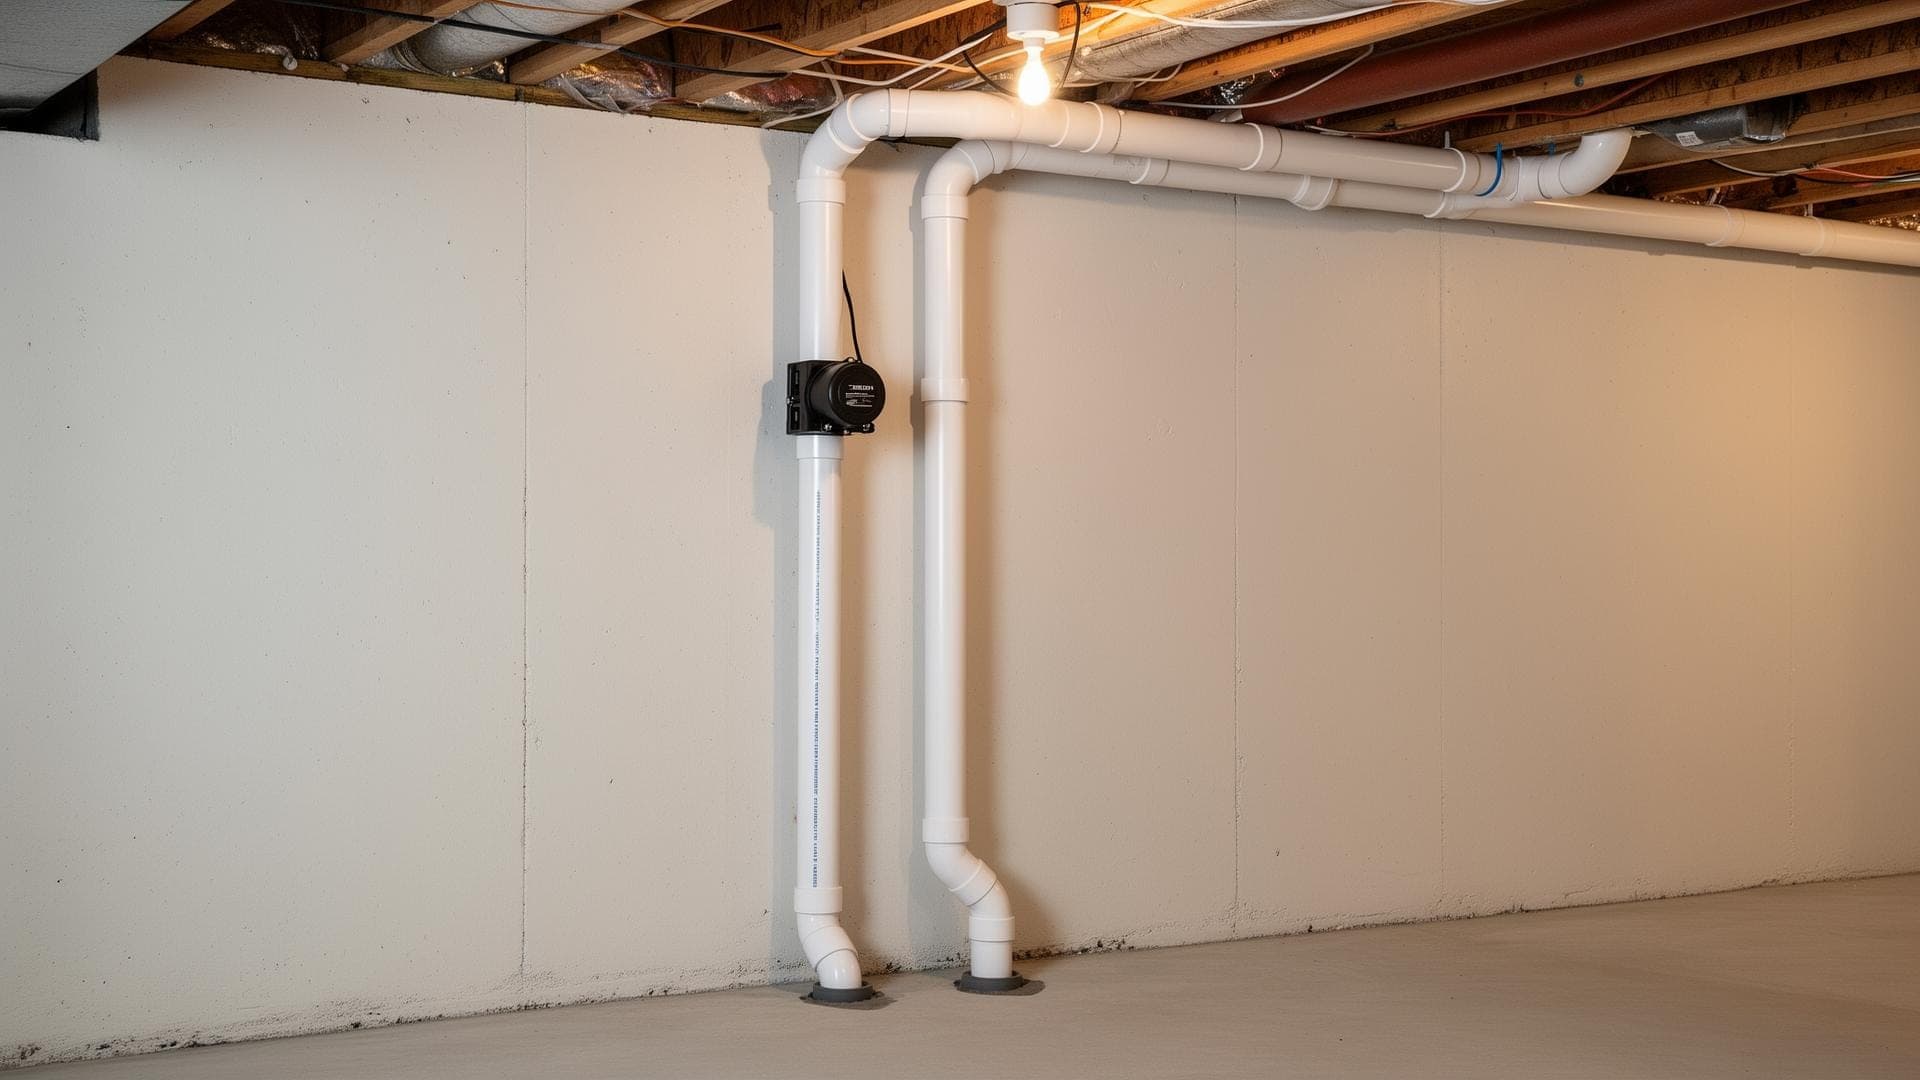
A passive rough-in is the skeleton of a radon system, installed while the slab is still exposed and the framing is open. The technician cuts a suction pit into the slab, sets a sealed vertical vent pipe, and routes that pipe up through the new framing toward the roofline, with a labeled spot left for an electrical connection near the pipe. The system can move some radon on its own through natural stack effect, and it is built so that adding a fan later is a small job rather than a renovation.
The value of the rough-in is that it front-loads every hard part. Reaching the slab, cutting the pit, and running pipe through open walls are the steps that are miserable to do later. Get them done while the space is gutted and you are covered no matter what the post-project test shows. If the finished basement reads below the action level, you are done. If it does not, a technician adds an inline fan to the pipe you already installed, and the system becomes active without touching your new finishes. For the underlying mechanics, see our explainer on what sub-slab depressurization is.
5. Passive rough-in versus full active mitigation
The difference between the two comes down to one thing: the fan. A passive system is the pipe and suction pit relying on natural airflow. An active system adds an inline fan that pulls soil gas out from under the slab and vents it above the roof, which is far more reliable at consistently holding a home below the action level.
Your pre-project test points to the right choice. If you tested at or above 4.0 pCi/L, install a full active system during the remodel. There is no reason to defer it when you already know you need it and the slab is open. If you tested low or borderline, a passive rough-in is a sensible middle path: you do the hard work now, retest after finishing, and add the fan only if the number calls for it. Either way, the remodel is when the pipe goes in. For a deeper look at how these systems work in living-space basements, see our guide to radon in finished basements.
6. Step three: seal cracks and penetrations
While the slab and walls are exposed, seal the openings radon uses to enter: the perimeter gap where the floor meets the foundation wall, control and expansion joints, cracks, and the spots where plumbing and utilities pass through the slab. A sump pit, if you have one, should be fitted with a sealed, airtight cover rather than left open. These are easy to reach now and awkward to reach once the floor is covered.
Sealing is a supporting step, not a standalone fix. Soil gas finds the smallest openings and seeps through the concrete itself, so sealing alone will not reliably bring a high level down. What sealing does is make a sub-slab system work better and more efficiently, so do both rather than relying on either by itself.
The reason sealing pairs so well with a sub-slab system is pressure. The system works by holding a slight vacuum under the slab so soil gas is drawn into the pipe instead of into the room. Every sealed opening is one less place for household air to leak down into that vacuum, which lets the system maintain its pull with less effort. Sealing during the remodel is cheap insurance for the system you are installing.
7. Step four: retest after the work is done
The last step is the one people most often skip, and it is the one that proves the whole effort worked. Finishing a basement changes how air moves through the lowest level. New walls, flooring, and HVAC changes alter the pressure balance, and a system that was not tested in the finished condition is just an assumption. A post-project radon test confirms the finished space actually reads below 4.0 pCi/L.
The retest also decides the passive-versus-active question for anyone who roughed in a passive system. If the finished basement comes back below the action level, the passive pipe is doing the job and you are done. If it comes back high, that is your signal to add an inline fan to the pipe you already installed, turning it into an active system without opening a single finished wall. Either way, you end with a documented number for the new living space.
8. Why doing it now beats retrofitting later
The case for handling radon during the remodel is mostly about avoided rework. A radon system installed into an open, gutted basement shares the same access, the same crew mobilization, and the same open framing as the rest of the project. The pipe run is short and clean, the suction pit is cut into bare slab, and nothing has to be undone. The marginal cost of doing it while you are already building is modest.
Retrofitting after the basement is finished is the expensive path. It can mean cutting into new flooring to reach the slab, drilling through finished walls, running pipe up an exterior wall because the clean interior path is gone, and patching and repainting afterward. Building radon into the project skips all of it.
Because every basement is different, a firm price comes after a test and a look at the space. The point is the sequence, not a single dollar figure: the same work is cheapest, cleanest, and least disruptive when the slab is open and the walls are not yet up. For the full overview of how systems are installed, see our radon mitigation service page, or our broader look at radon and basements.
9. Radon risk in metro Atlanta basements
Georgia has no state radon law, which leads some homeowners to assume radon is not a local issue. The geology says otherwise. Several metro Atlanta counties sit in higher EPA radon zones, driven by the region's granite and uranium-bearing bedrock, and a basement is the lowest, most soil-contact part of a home, exactly where radon concentrates. A basement remodel in this area is a project worth treating radon as a standard part of the plan.
The EPA recommends testing every home regardless of zone, because the only way to know a specific basement is to measure it. A higher-zone county is not a guarantee of high radon, and a lower zone is not a guarantee of safety. Your test result, not the map, decides what your remodel needs.
Because the testing burden falls on the homeowner here, the smart move is to fold it into a project you are already doing. You are going to have crews in the basement and the slab exposed anyway. That is the moment radon is cheapest to handle, and skipping it usually means paying more to fix it later.
10. Frequently asked questions
This article is general information for homeowners planning a basement remodel, not engineering or construction advice. Radon levels, system design, and the right approach depend on the specific home. Test your basement and confirm the right plan with a qualified radon professional before and after your project.