1. Sump Pits and Radon: The Connection
A sump pit is a basin set into the basement floor, typically designed to collect groundwater and pump it away from the foundation. But from a radon perspective, a sump pit is also a large opening through the basement slab that connects directly to the soil and gravel below.
If your sump pit is uncovered, it is essentially an open pathway for radon gas to flow from the soil directly into your living space. The same feature that makes it a radon entry point also makes it potentially valuable for radon mitigation, because it provides ready-made access to the sub-slab environment.
Rather than drilling a new hole through the basement slab, a radon mitigation professional can often use the existing sump pit as the primary suction point for a sub-slab depressurization system. This approach uses infrastructure that is already in place, which can simplify the installation and reduce costs.
2. How Sump Pit Mitigation Works
The principle is the same as any sub-slab depressurization system. A fan creates negative pressure beneath the slab, drawing radon-laden soil gas before it can enter the home. The gas is then vented through a pipe that exhausts above the roofline where it disperses harmlessly into outdoor air.
Seal the Sump Pit
An airtight cover is installed over the sump pit, with sealed penetrations for the sump pump discharge pipe, power cord, and radon vent pipe. The seal must be gas-tight to prevent radon from escaping around the edges.
Install the Vent Pipe
A PVC vent pipe connects from the sealed sump pit cover, runs up through or along the interior of the home, and exits through the roof. The pipe diameter is typically 3 or 4 inches, depending on the system design.
Add the Radon Fan
A radon-specific fan is installed in the vent pipe, typically in the attic or on the exterior of the home. The fan runs continuously, creating negative pressure beneath the slab that draws radon toward the sump pit and up through the vent pipe.
Verify with Post-Mitigation Testing
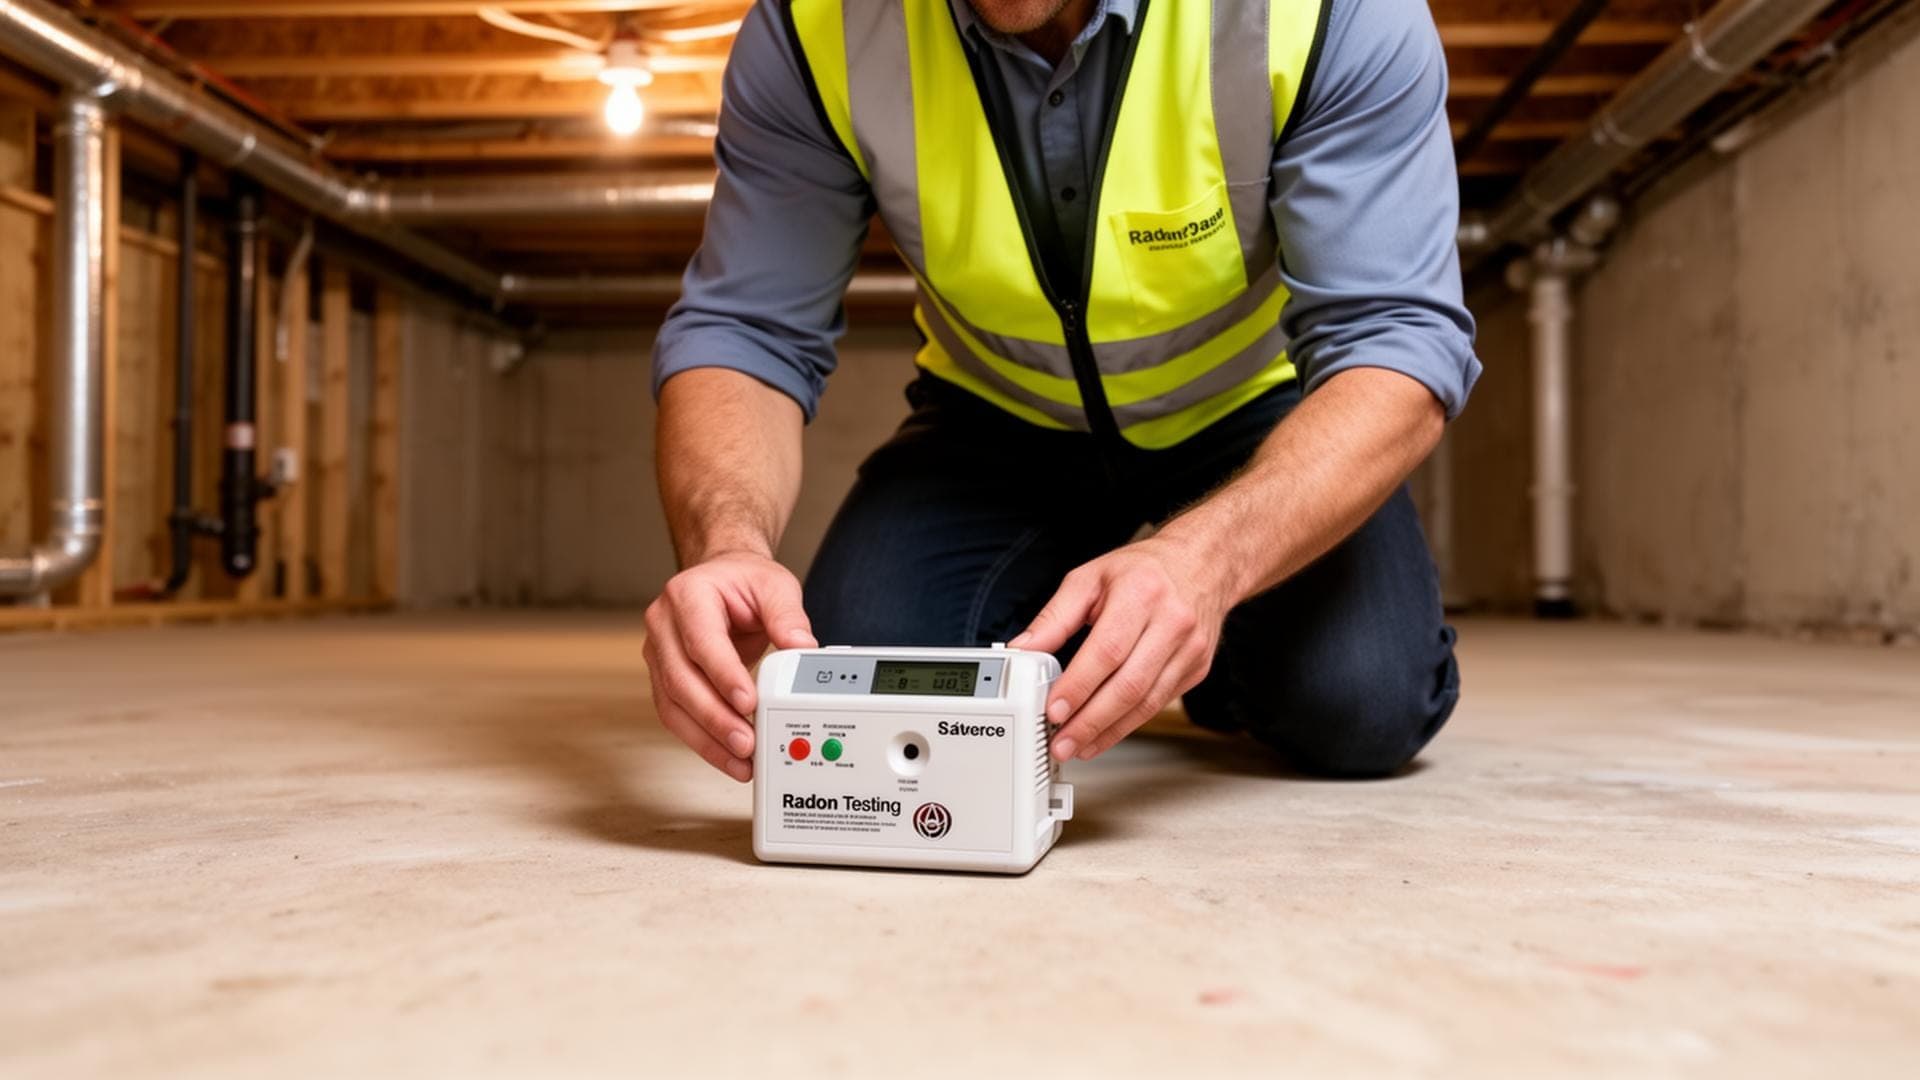
After installation, a radon test confirms the system is reducing levels below 4 pCi/L. Most systems bring levels well below 2 pCi/L. The post-mitigation test should be done at least 24 hours after system activation.
3. Sealing the Sump Pit Properly
The effectiveness of a sump pit-based mitigation system depends heavily on the quality of the seal. A cover that leaks air will reduce the negative pressure beneath the slab, making the system less effective at pulling radon.
Professional radon mitigation covers are made of rigid or semi-rigid plastic and attach to the sump pit with a gasket and mechanical fasteners. All penetrations (discharge pipe, electrical cord, radon vent pipe) are sealed with specialized gaskets or caulk designed for gas-tight applications.
The cover should be transparent or have an inspection port so you can visually check the sump pump and water level without breaking the seal. Some covers include an access panel that can be opened for pump maintenance and resealed afterward.
DIY Sump Covers Are Not Enough
A piece of plywood or a loose-fitting plastic cover is not sufficient for radon mitigation. These makeshift covers allow air to leak around the edges, significantly reducing the system's effectiveness. Proper radon mitigation requires a gas-tight, professionally installed cover.
4. Working with an Existing Sump Pump
A common concern homeowners have is whether sealing the sump pit will interfere with their sump pump. The answer is no, as long as the cover is properly designed and installed.
The sump pump continues to operate normally inside the sealed pit. When groundwater rises to the pump's activation level, the float switch triggers and the pump removes the water through the discharge pipe, exactly as it would without the cover.
In fact, the radon fan can actually help the sump pump by reducing moisture in the sub-slab area. The negative pressure created by the fan draws not only radon but also moisture-laden air from beneath the foundation, which can reduce the volume of water reaching the sump pit.
If your sump pump needs repair or replacement, the sealed cover can be temporarily removed and reinstalled. Some covers have access panels specifically for this purpose, so the entire cover does not need to be removed for routine pump maintenance.
5. Advantages of Using the Sump Pit
No Drilling Required
Using the sump pit eliminates the need to core a hole through the basement slab. This means less mess, less noise, less dust, and less disruption during installation. It also avoids the risk of hitting rebar, radiant floor heating, or underground utilities.
Better Sub-Slab Communication
A sump pit is typically larger than a drilled suction point and connects to a wider area of the drainage system beneath the slab. This can provide better sub-slab communication, meaning the negative pressure field extends farther across the foundation.
Lower Installation Cost
Eliminating the slab coring step saves time and material. This can reduce the total installation cost by $100 to $300 compared to a system that requires drilling. The savings vary by contractor and home configuration.
Dual Benefit
Sealing the sump pit and installing a mitigation system addresses two issues at once. You reduce radon levels while also sealing a major moisture and soil gas entry point. The sealed pit also prevents basement odors from sewer-connected drainage systems. Learn more about how radon enters your home and explore our residential radon services. Regular system maintenance keeps your sump-based mitigation running at peak performance.
6. When the Sump Pit Is Not Enough
While the sump pit is often an excellent suction point, it does not work in every situation. Some homes have sub-slab conditions that limit how far negative pressure extends from a single suction point.
If the soil beneath the slab is very dense clay or the gravel layer is thin or absent, the negative pressure field may not reach the far corners of the home. In these cases, additional suction points may need to be drilled through the slab to ensure full coverage.
Homes with very large footprints, multiple foundation sections (such as additions built at different times), or interior foundation walls that create separate sub-slab zones may also need more than one suction point. A professional radon mitigation assessment includes diagnostic testing to determine whether the sump pit alone provides adequate coverage.
In homes without a sump pit, standard sub-slab depressurization through a drilled hole is the primary approach. The principles and effectiveness are the same. The sump pit is simply a convenient alternative when one exists.